How I Made This Site (And You Can Too!)
This article is part one of a two-article series. In the first part, we will focus on setting up the bare basics of how to set up a site and creating articles to view for yourself. In the second part, we focus on the basics of deploying it for the whole internet to see. Throughout the articles, we try to make it as easy as possible, so anyone without a heavy technical background can set one up themselves. You can find the second part here: Link
Why a Site?
Having your own personal website is like having an online home where you get to show off who you are and what you’re all about. It’s a cool way to share your achievements, skills, and interests with the world. Think of it as your digital resume and a place to tell your story the way you want. Regardless of the profession, major, topic you are studying or working in, a digital site allows you to effectively showcase you in the digital world!
Prerequisites:
Before we begin, we install the necessary pieces of software necessary to continue through the rest of the article.
- A GitHub account: We will use this to create the place where your website will live.
- In addition to a github account, make sure you install git as well. If you are not familiar with this, there are guides online such as this one
- A Cloudflare account: We will use this to buy your domain as well as enable us to deploy your site onto the internet in part 2.
- Hugo: We will be using Hugo to build parts of the site. Make sure to follow the instructions here to install the appropriate version for you.
- A text editor: A text editor will give you the ability to edit files and interact with your site in a more programmatic way. If you don’t have one, you can check out a very well known one here: Visual Studio Code
Getting a Domain
For our example, we will be using Cloudflare domains to buy our domain. To buy a domain, you can do the following steps:
- Sign Up or Log In: If you haven’t already, sign up for a Cloudflare account. If you have an account, log in to your dashboard.
- Access Domain Registration: Once logged in, navigate to the “Domains” section in the Cloudflare dashboard.
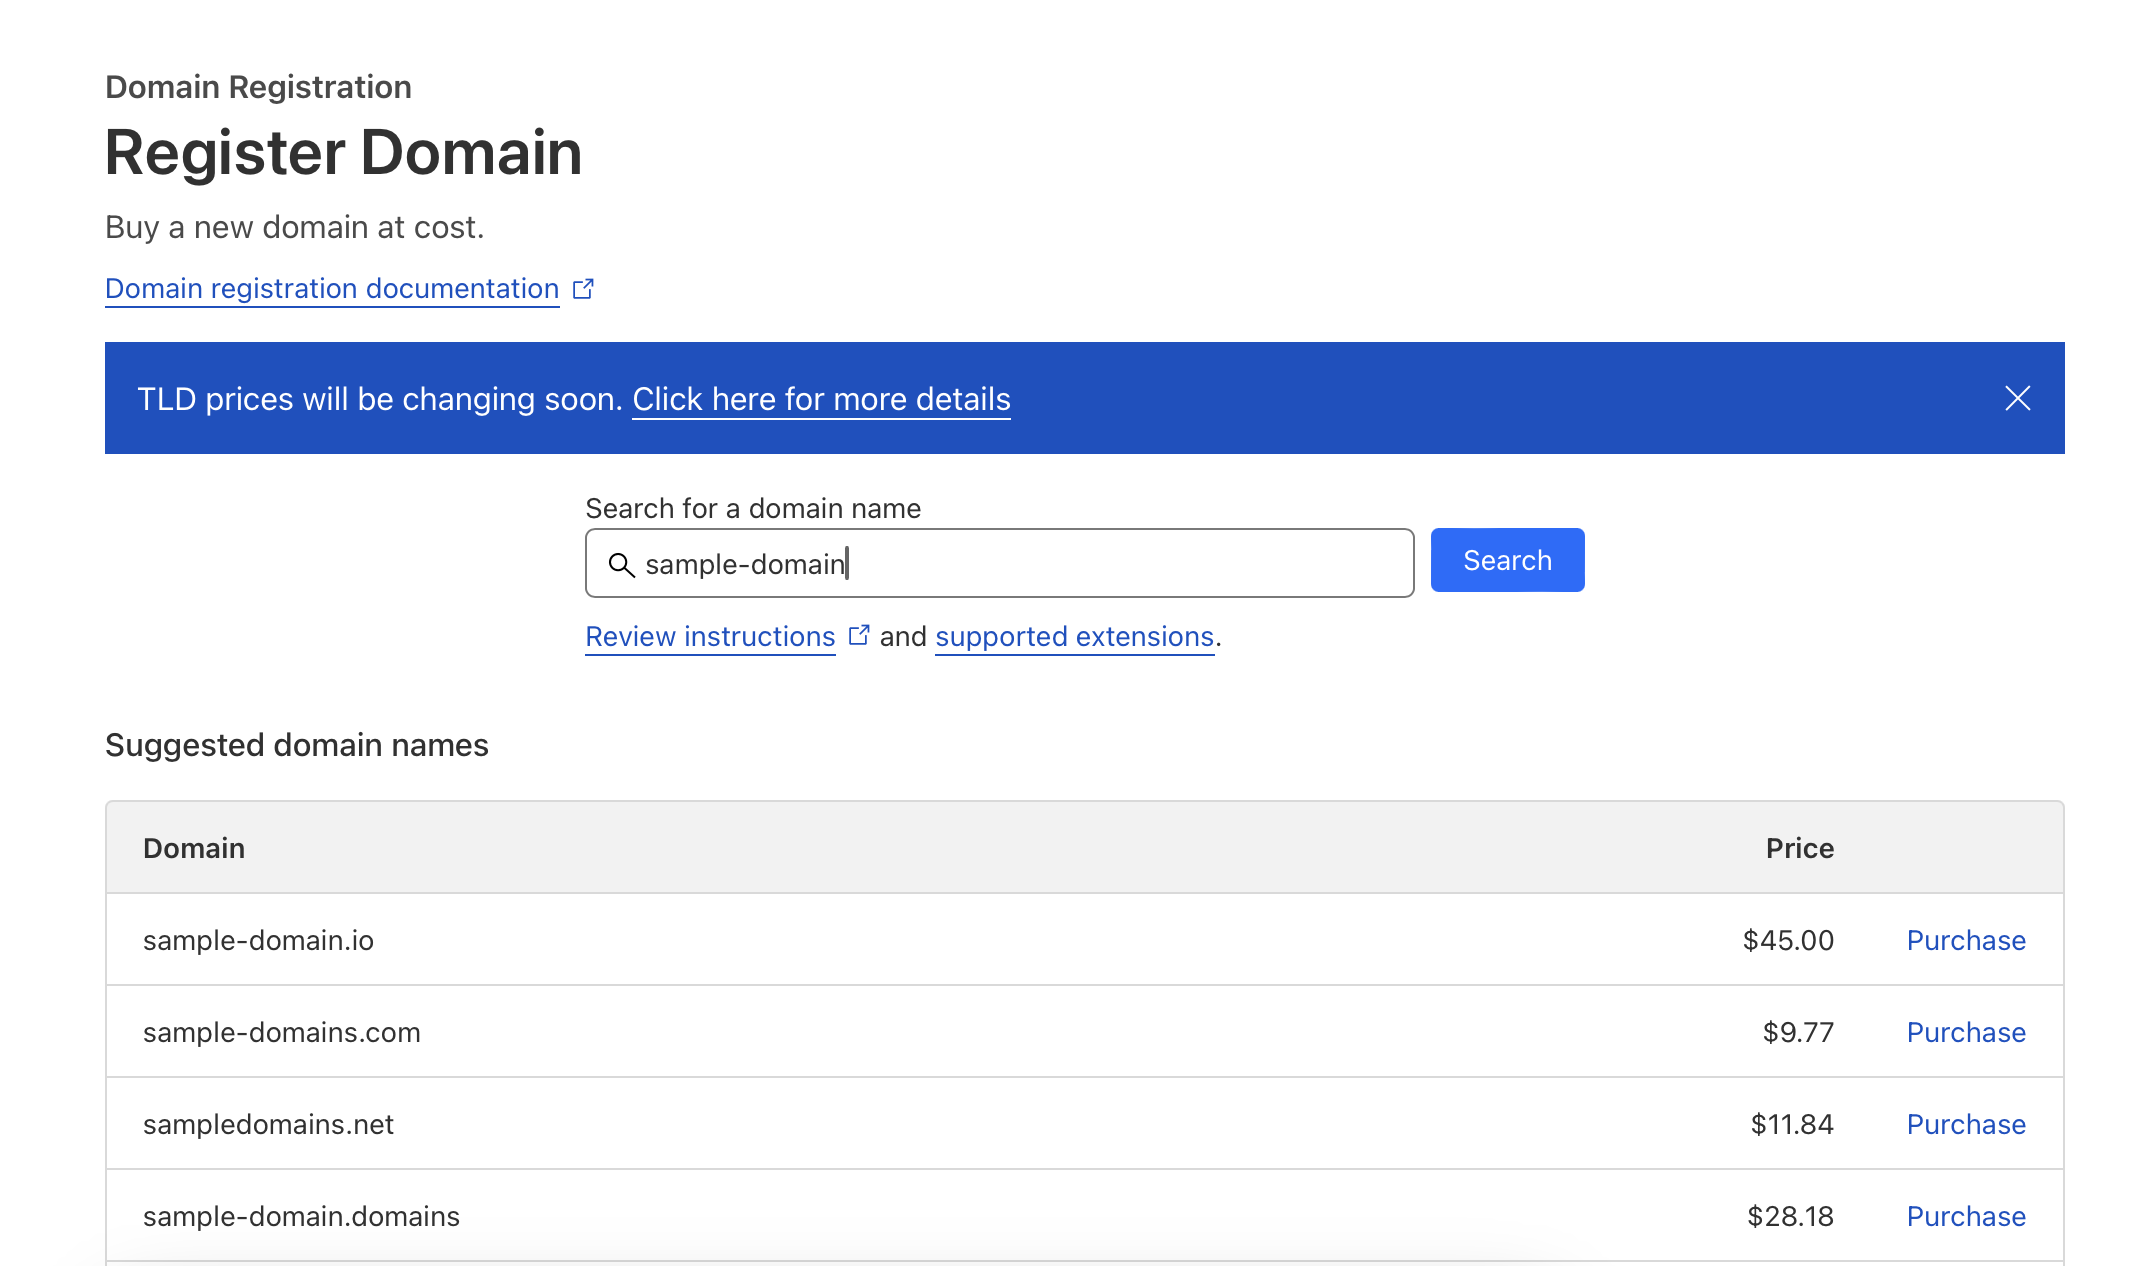
- Search for Domain: In the Domain Registration section, enter the domain name you want to purchase into the search bar and click “Search.”
- Select Domain: Cloudflare will display the availability of the domain. If the domain is available, select it from the list of options.
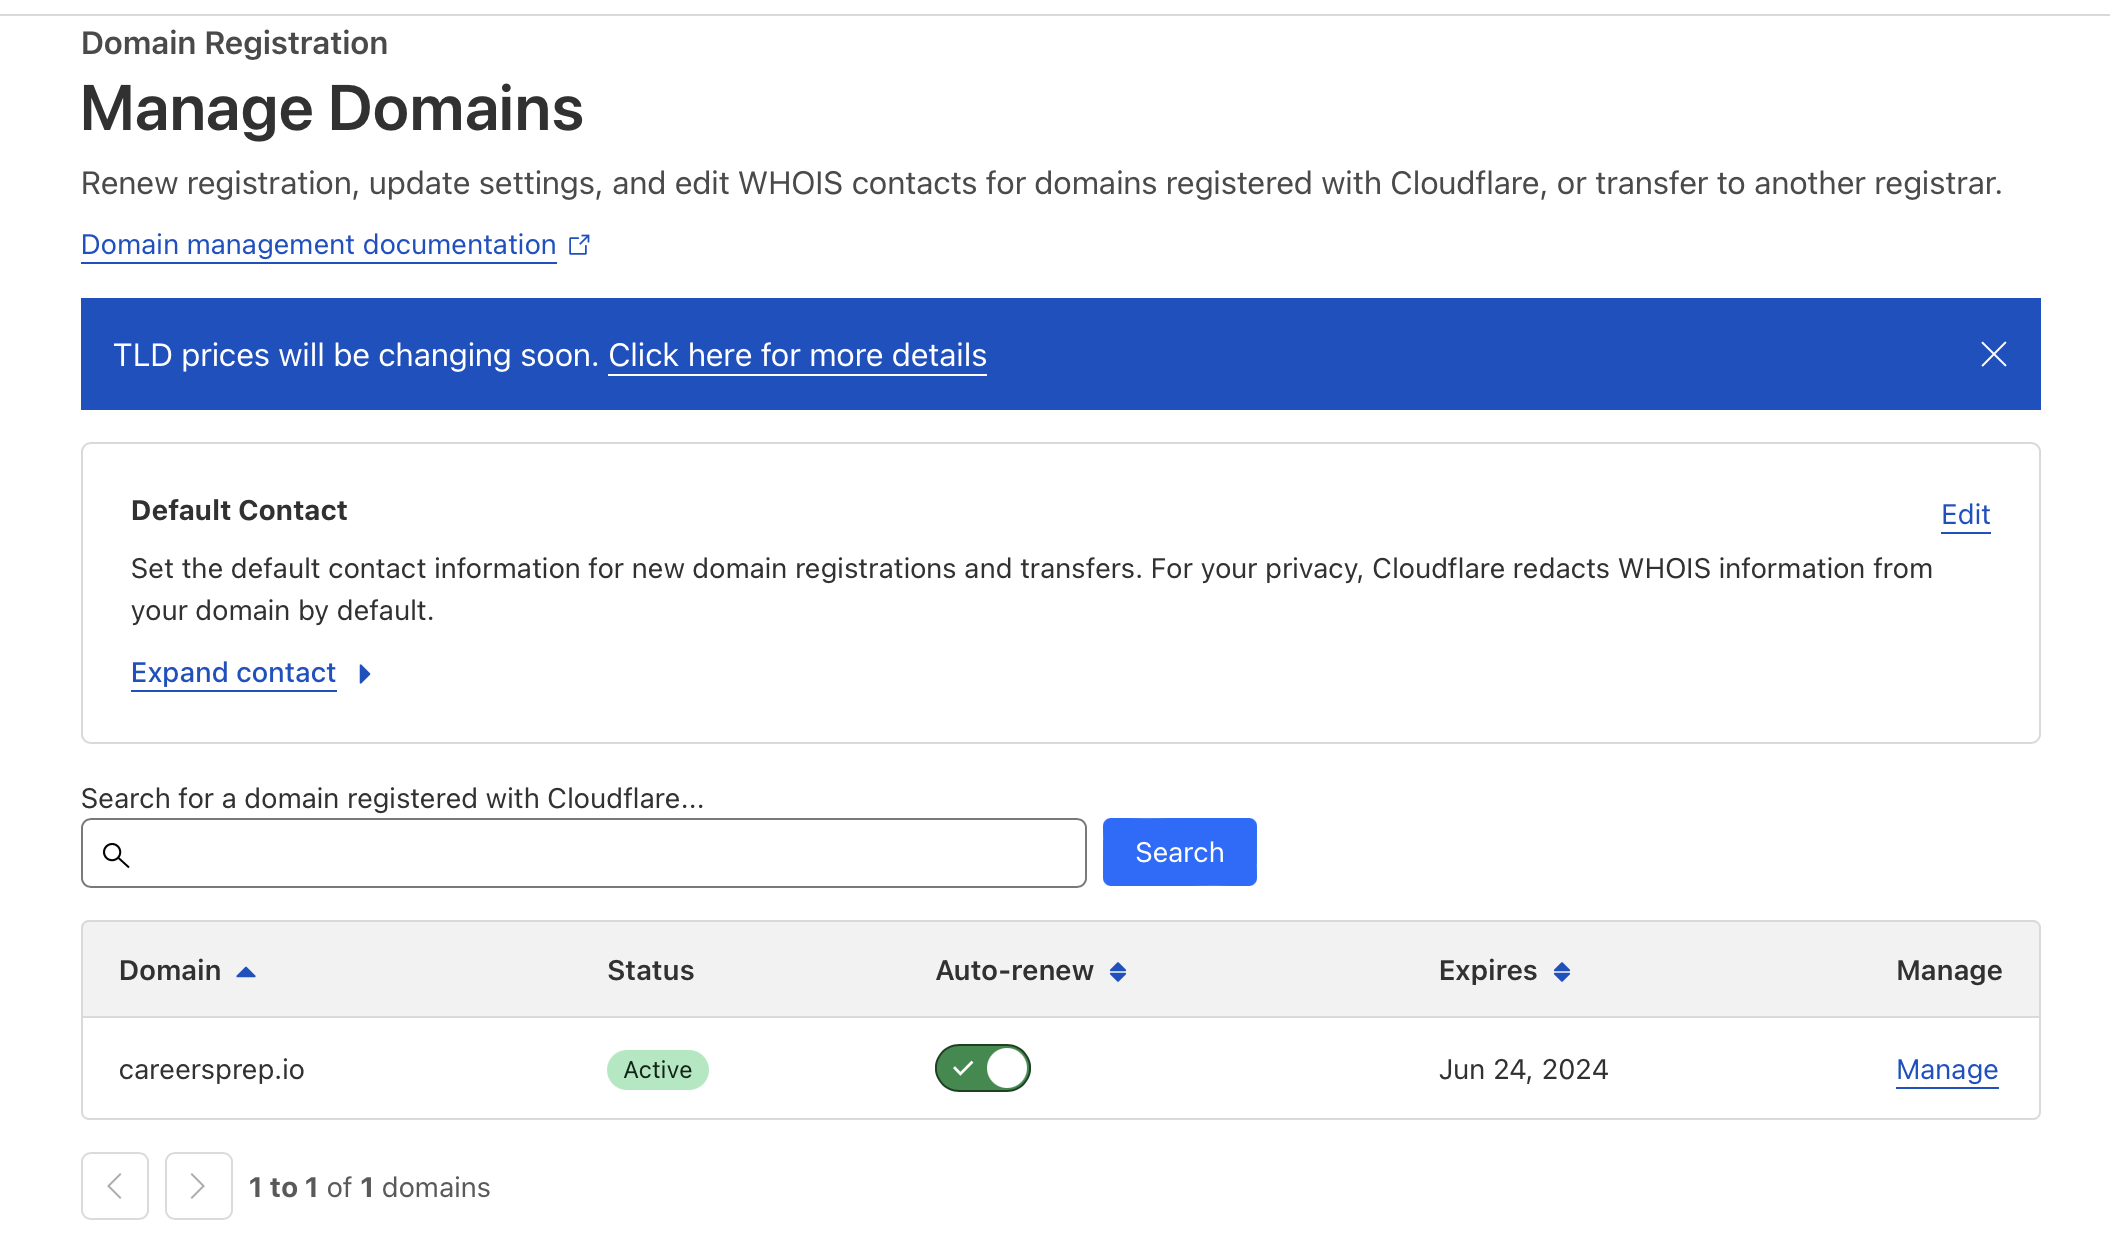
- Pay for Domain: Once you are satisfied with your choice, continue on to pay and aquire the domain. Note that most domains operate on a yearly subscription model, meaning you will have to renew one year from purchase date. Once you have a domain, you should see something like this:
What is a Static Site Generator?
A static site generator (SSG) is a tool used in web development to streamline the creation of static websites. Unlike dynamic websites, which generate content on-the-fly in response to user requests, static websites are pre-built and serve the same content to every user. This makes sense for a blog where most content is static. SSGs automate the process of generating static HTML pages from templates and content files, often written in markup languages. In our case, we will be using Markdown. By separating content from presentation, developers and writers can focus on writing content, while the generator handles the heavy lifting of converting it into a polished website.
Popular SSGs like Jekyll, Hugo, and Gatsby provide a wide range of features and themes as well. We will be mainly using Hugo and choosing a theme from there to create our site.
Creating Your First Page
So now, let’s actually get started with making a website!